Outdoor Photography - A Beginner's Guide to the Best Camera Gear
- Pathloom Guest Blogger

- Jul 29, 2021
- 10 min read
Updated: Oct 29, 2022
Everything You Need To Know To Become an Amateur Photographer Extraordinaire!
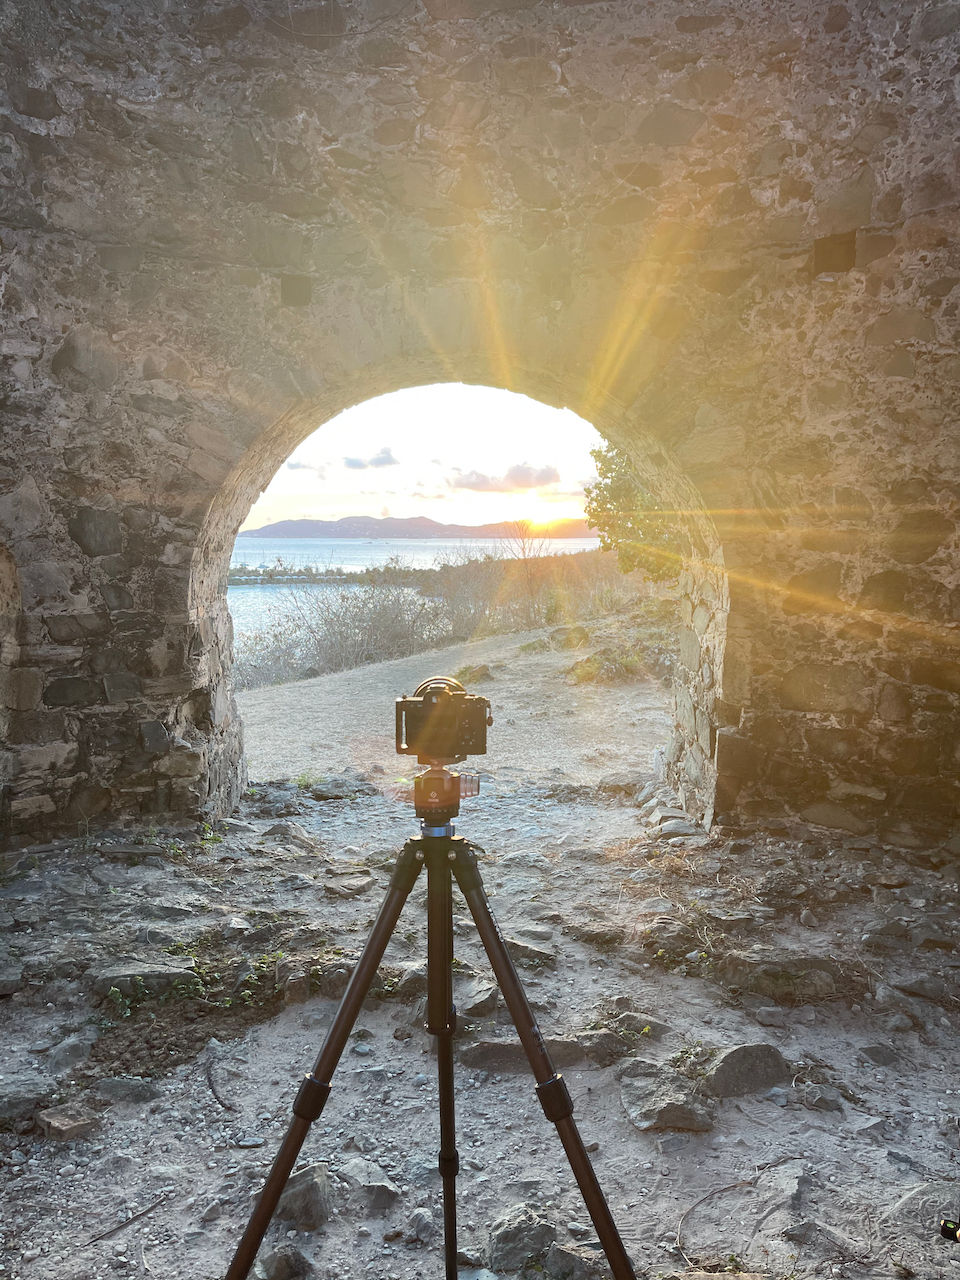
Sony a7R IV with 12-24mm 2.8 lens - Virgin Islands National Park - Photo Credit: Chris Blake
Find a dispersed campsite near National Park land. Learn a new camping recipe, or get tips to enhance your thruhiking. Be among the first to get exclusive stories, trail reports and more from our growing team of experienced campers, backpackers, thru hikers, and fellow adventure lovers.
Photography is a great hobby, and pairs well with exploring parks and wilderness. However, many people can feel intimidated by the overwhelming number of equipment options that are available, and have no idea where to begin. I’ve been taking photographs professionally for over 25 years and have used a wide array of cameras and accessories, so I put together a guide for how to start your photography journey based on my experience.
Before we get into the nitty-gritty of what options are available and what to purchase I have a few guiding principles to go over, and some terminology to define.
Guiding Principles
The absolute best camera is the one you have with you. If you buy something big, heavy, or hard to travel with, you often won’t have it with you when you need it. There are times when your iPhone is the best camera because that's all you are able to carry.
Gear is a far second to composition. Everyone likes to talk about specs and what is new and shiny, but the truth is that great photos have been taken, and printed quite large, with 10 megapixel cameras from 20 years ago. Focus on framing, the elements in a sense, learning to see with a “photographic eye.” Time spent learning composition will pay greater dividends then any gear you might purchase, at least initially.
Learn how to process your photos. Every great image you see these days has likely undergone a fair amount of post-processing work. Everyone has some opinion on how much editing is too much. You need to find your own style and a way to develop it after the photo is taken.

2x Sony a7R IV, 135mm and 24-70 2.8 Lenses - Crater Lake, OR - Photo Credit: Chris Blake
Camera Terminology
There are many specifications and so much technical jargon in the digital camera world. However, only a few are pertinent to this particular discussion. I’ll try and make this as painless as possible and include links at the bottom of this blog for anyone who wishes to dive deeper into any of the topics I’ve covered.
Megapixel - short for “one million pixels,” this is a measure of the size of the image a camera produces. Anything greater than 15 megapixels is going to be great for the web (Facebook, Instagram, etc.) and will print well up to 20x30 inches. The more pixels you have, the larger you can print, and the more flexibility you’ll have to crop your photos down and still have enough for sharing or printing.
Full-frame vs. crop sensor - “Full-frame” means the physical size of the digital sensor is 35mm; the same as a traditional film camera. A “crop sensor” is smaller than 35mm. This does not in any way impact the quality of the images. Since a “crop” sensor is smaller, the cameras themselves are lighter and smaller than their full-frame counterparts as well.
Crop sensors and focal length - The focal length of a lens is the distance between the lens and the image sensor when the subject is in focus, usually stated in millimeters (e.g. 18mm wide, 50mm standard or 100mm telephoto). If your sensor is smaller than 35mm, the effective focal length is going to change. In other words, in Fuji cameras you have a 1.5 “crop factor” - meaning a 50mm focal length lens on a Fuji will give you a 75mm effective focal length.
“Kit” lens - Some cameras come with a bundle of both the camera body itself and a starter lens; this often comes with a discount in price vs buying them separately.
Now that all that is out of the way, let’s explore some options of what a good starting kit is going to look like. These are just my opinions, based on my experience - there are really no right or wrong answers. I have no affiliation with any of the links included here.

Sony A7r IV with 12-24mm 2.8 lens - Sequoia National Park, CA - Photo Credit: Chris Blake
Camera Option 0 - Free!
Since almost all of us have Smartphones, we can learn to take amazing photos with them! Check out this article written by my good friend, photographer Aaron Bieber, to find out how.
Camera Option 1 - Beginner and Intermediate
Fujifilm X-T4 with the 16-80mm lens - $2,200
This is an amazing camera. It takes wonderful photos, and has spectacular color accuracy. It is a 24 megapixel APS-C camera with in-body stabilization, and can also take 4K video. Best of all, Fujifilm cameras have almost all manual dials, which is an easy way to learn and understand how changing settings can affect your photos.
The included 16-80mm lens is almost criminally good for the price. It is sharp edge to edge, has very limited vignetting, and goes from very wide to relatively long. If you had to start with one lens, this one would be it.
Note that this camera has an APS-C sensor, which means it's a little smaller than a “full frame” camera’s sensor.
Camera Option 2 - Budget Friendly
Fujifilm X-T1 with the 18-55m F2 lens - ~$450-$650 used (Ebay, Facebook Marketplace, or LensAuthority).
You guessed it, this is the early version of the X-T4. It’s a 16 megapixel APS-C camera with a stunning 18-55mm kit lens. You can find these used for under $700 dollars - an incredible value. Yes it's older, and lacks some of the new features of current cameras, but if your goal is to learn how to take photos with a more advanced camera this is a great option.
This kit lens at 18-55mm gives you a little bit less reach (how far it will zoom) then the lens recommended with the X-T4 above. You may consider this a limitation or you may view it as a way to make you think about where you stand, what you have in your frame, and think more about the picture before you take it.
There are many other used cameras out there that are all great to learn with. However, I believe for a price vs features comparison the FujiFilm offers an unmatched value proposition.
Camera Option 3 - Ideal Setup
Sony a7R IV - $2,998
This is truly a top of the line camera, but with the recent drop in price there may be some beginners who want to start towards the top. The a7R IV is a 61 megapixel full-frame camera that can also do 4K video. This camera offers a number of benefits over the lower cost Fuji systems including higher resolution, dynamic range, and the autofocus system which offers more autofocus points and is faster.
Sony offers a huge array of lenses from very cheap to very expensive. Keep in mind that with 61 megapixels, due to such high resolution lower cost lenses are going to show every imperfection of the glass. If you're buying into this system be prepared to pay a little extra.
There are a variety of options, but an ideal starting lens for this camera would be the Sony 24-105 f/4 lens, for about $1,098. It's wide (though not super wide) and gives you a good amount of “reach.”

Sony A7r IV with 12-24mm 2.8 Lens - Everglades National Park, FL - Photo Credit: Chris Blake
General Note About Lenses
If you're just starting out, the lenses listed above are all wonderful choices. As you develop your skills as a photographer and an artist, you’ll begin to better understand what you need for your next lens. If, for example, you find yourself drawn to wildlife photography, you can start to look at longer lenses like a 70-200mm, or even a 100-400mm. Longer lenses permit you to photograph subjects from a greater distance - this is especially useful for photographing wildlife when you want to maintain a safe range between yourself and a wild animal.
Camera Bags
Camera bags come in all shapes and sizes for all occasions. The choice of the right bag really comes down to how much you have to carry, and how you want to carry it (shoulder bag, backpack, even a rolling bag). Almost all camera bags offer good enough protection for your equipment - most people are amazed at how resilient modern cameras are. Though it's a highly personal choice, here are some general recommendations:
ThinkTankPhoto - makes a wide array of bags of the highest quality. You cannot go wrong with any of their products.
Shimoda Designs - makes, in my opinion, the best bags for backpacking with camera gear. They are insanely comfortable, and allow you to carry more than just photography equipment.

Think Tank Photo Backlight 36L Camera Bag - Photo Credit: Chris Blake
What's in Chris' Camera Bag?
Sony A7r IV with 12-24mm 2.8 Lens
Sony A7r IV with 24-70mm 2.8 Lens
FujiFilm X-t4 with 55-140mm 2.8 Lens
Sony 135mm 1.8 Lens
Flashlights, spare batteries, cleaning kits, memory cards, etc
Tripods
This is the one area where I will tell you to buy the best one you can afford. Many photographers start cheap, outgrow the cheap tripod and buy the next level up. A few years later they have spent more on several levels of cheap tripods than they would have on one good one.
What kind of tripod you will need is a bit tricky, and depends on what type of photography you want to do. If you're going out on camping trips or long backpacking treks, your focus may be more on weight. If you're trying to take pictures on top of a mountain or in otherwise rough conditions, you’ll want the most sturdy tripod possible.
Important considerations when purchasing a tripod:
How tall can the tripod extend?
How much does the tripod weigh?
How much weight can you put on the tripod?
Below are three brands of tripods that I have used. They are all very good and come at a range of different price points. Each brand offers an array of different models, from super sturdy and tall to a bit shorter and very light.
Benro - Very budget friendly and well made - $200-$500
FLM Tripods - Pro grade gear, made in Germany - $400 - $900
Really Right Stuff - Buy it for life, made in the USA - there is nothing better - $850-$1300+

Sony a7R IV with 12-24mm 2.8 Lens - Glacier National Park, MT - Photo Credit: Chris Blake
Tripod Heads
With each tripod brand listed above you're going to need a tripod head. This is the connecting piece between the tripod and your camera. In my opinion, there is only one option here and that is the Really Right Stuff line of ball heads. They are made with thought and care in the United States. They are strong, lightweight, offer precision operation, and will work for decades even under heavy use or even abuse. Buy it once and just be done.
Really Right Stuff has an array of options, but for all the cameras listed above the BH-40 Ball Head would be a very strong option at $415.
Keep in mind you’ll need one additional item to put all this together: a “plate” or an “L-bracket” that attaches to your camera and connects to the ball head.
Memory Cards
You’ll need a memory card for your camera to store the photos you take. There are a lot of options out there, and the pricing keeps getting better. If you're not taking video or shooting action then you’ll be fine with a slower speed card.
I’ve been using the SanDisk cards since I started using digital cameras. They seem to work well and are very cost effective. You can get the SanDisk 512GB Extreme Pro UHS-I card right now for $130.
Two Memory Card pro tips:
Buy more capacity in the cards than you think you’ll need. It is cheap enough, and you don’t want to run out of storage space while out in the middle of nowhere.
If your camera supports two cards, use two cards simultaneously. While they almost never fail, you don’t want to lose all your photos from your trip because of one bad card.

2x Sony a7R IV, 135mm and 24-70 2.8 Lenses - Kings Canyon, CA - Photo Credit: Chris Blake
Editing Software
Taking the photos is only the first step in the process - you still have to do something with all those amazing images once you get home. There are so many options out there, but for my money nothing beats Adobe Photoshop Lightroom. If you're just starting out, this is your best bet. Yes, Photoshop and other software might let you do some things that Lightroom won't, but here is my case for starting with Lightroom:
It’s a great photo editing / developer tool, and there are a million blogs, articles, and YouTube videos that can take you from novice to expert relatively quickly. It is more than powerful enough to fully transform your images.
It is the best photo catalog on the market. Period. There is nothing better for importing and organizing your photos. It will let you create folders and virtual collections, and you can tag with keywords, colors, and stars. You can also easily export photos for sharing on social media, the web, and printing. The software will even allow you to do a book layout.
You can never outgrow it. Even if you become a pro and start editing in Photoshop using a dozen other 3rd party plugins, you’ll still need a way to manage all your photos. Using Lightroom as a “base” and exporting/re-importing is a breeze.

Sony a7R IV with 12-24mm 2.8 Lens - Mount Rainier, WA - Photo Credit: Chris Blake
Useful Links
YouTube is a wonderful resource for learning about all things
Peter McKinnon - Camera basics
Fstoppers Photographing the World - Not free, but some of the best instruction you can find anywhere.
Piximperfect - Best Photoshop videos on YouTube.
Fototripper - General photography
Nick Carver - General photography
Nick Page - General photography
Thomas Heaton - General photography
Sarah Johnson - Digital Photography Guide
Best Places to Buy Cameras:
My go to is always BHphoto or Adorama; they offer amazing customer service, and have real experts available to help. I would highly recommend them over Amazon for any purchases and they are almost always competitive with pricing. LensRentals and LensAuthority are great places to rent camera equipment, and to purchase well-cared-for used gear.

Sony a7R IV with 12-24mm 2.8 Lens - Kings Canyon, CA - Photo Credit: Chris Blake
Closing Thoughts
If you have made it this far then I’ll give you my best piece of advice: whatever camera you have, the most important thing is to use it! Get out there and experiment, try new things, go out at night, or sunrise, or any time of the day or night. Getting out the door is half the battle, the rest is just fun.
Chris Blake has worked as a professional photographer for 25 years. Based in Massachusetts, Chris’ current mission is to visit and photograph every single National Park in the United States, alongside his daughter. You can find more of his work on http://www.curiouslens.com
Find a dispersed campsite near National Park land. Learn a new camping recipe, or get tips to enhance your thruhiking. Be among the first to get exclusive stories, trail reports and more from our growing team of experienced campers, backpackers, thru hikers, and fellow adventure lovers.
Check out these other articles by Pathloom which you may enjoy:
Sign up for exclusive, early access to the Pathloom BETA trip planning app. Enhance your outdoor adventures when you claim access to our BETA camping app FREE!
Sign up today and we will send you a list of our favorite dispersed camping places in California!
Pathloom is a Bay Area-based technology startup on a mission to get more people outdoors, more often by reimagining the outdoor trip planning app.


